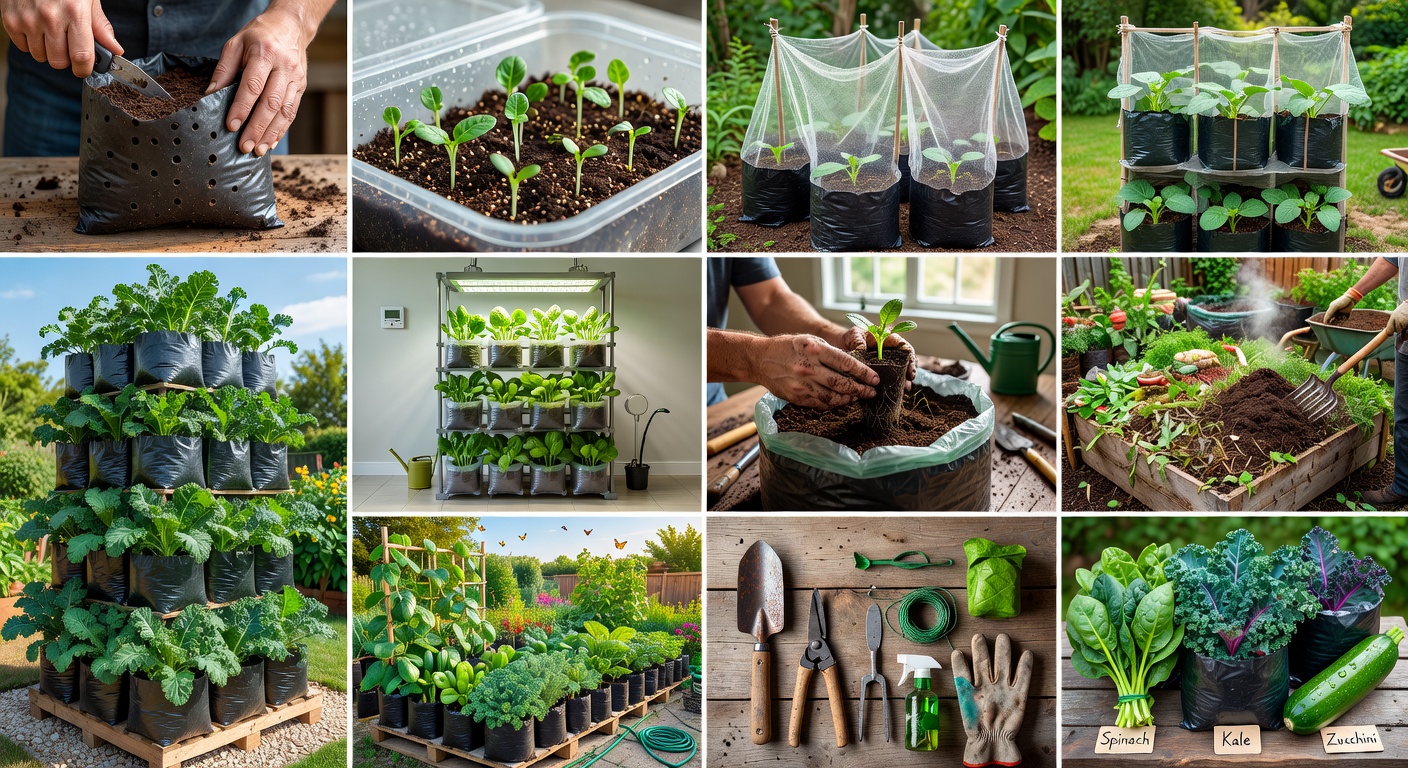
Tools and Materials
Starting a bag vegetable garden requires only a small set of common household and garden items. The list below outlines what is needed for a basic setup. Most items are available at hardware stores, garden centres, or online retailers.
| Item | Purpose | Notes |
|---|---|---|
| Plastic bags (15–30 L) | Main growing container | Thick, food-grade bags are preferable; woven polypropylene bags also work well |
| Potting mix or soil blend | Growing medium | Avoid dense garden soil; a loose, well-draining mix is recommended |
| Trowel or small spade | Filling and planting | A hand trowel is sufficient for most bag sizes |
| Scissors or a hole punch | Creating drainage holes | Drainage is critical to prevent waterlogging |
| Watering can or hose | Regular irrigation | A fine-rose attachment reduces soil displacement |
| Plant labels or markers | Identifying varieties | Useful when growing multiple types side by side |
| Fertiliser (liquid or granular) | Nutrient supply | See the Soil & Nutrients guide |
Choosing the Right Bags
The size and material of the bag directly affect how well plants develop. Larger bags hold more soil volume, which provides more stable moisture and temperature levels. The minimum recommended size for most vegetables is 15 litres.
- 15–20 L bags: Suitable for lettuce, spinach, radishes, and small herbs
- 20–30 L bags: Suitable for tomatoes, peppers, eggplant, and cucumbers
- 30+ L bags: Used for larger root vegetables or multiple plants per bag
Woven polypropylene (PP) bags — sometimes called grow bags or garden sacks — are reusable, allow some air exchange through the sides, and are widely available. Standard heavy-duty bin liners can also be used if drainage holes are cut into them.
Preparing Your Space
Bag gardens can be placed on balconies, patios, flat rooftops, driveways, and indoors near windows with adequate light. Before placing bags, consider the following factors:
- Sunlight: Most vegetables require at least 6 hours of direct sunlight per day. Leafy greens tolerate 4 hours.
- Surface: Place bags on a surface that can support the weight of filled bags (a 20 L bag with wet soil weighs approximately 20–25 kg).
- Drainage runoff: Ensure water draining from bags can escape freely without pooling or causing damage.
- Wind exposure: Taller plants (tomatoes, peppers) may require staking or shelter from strong wind.
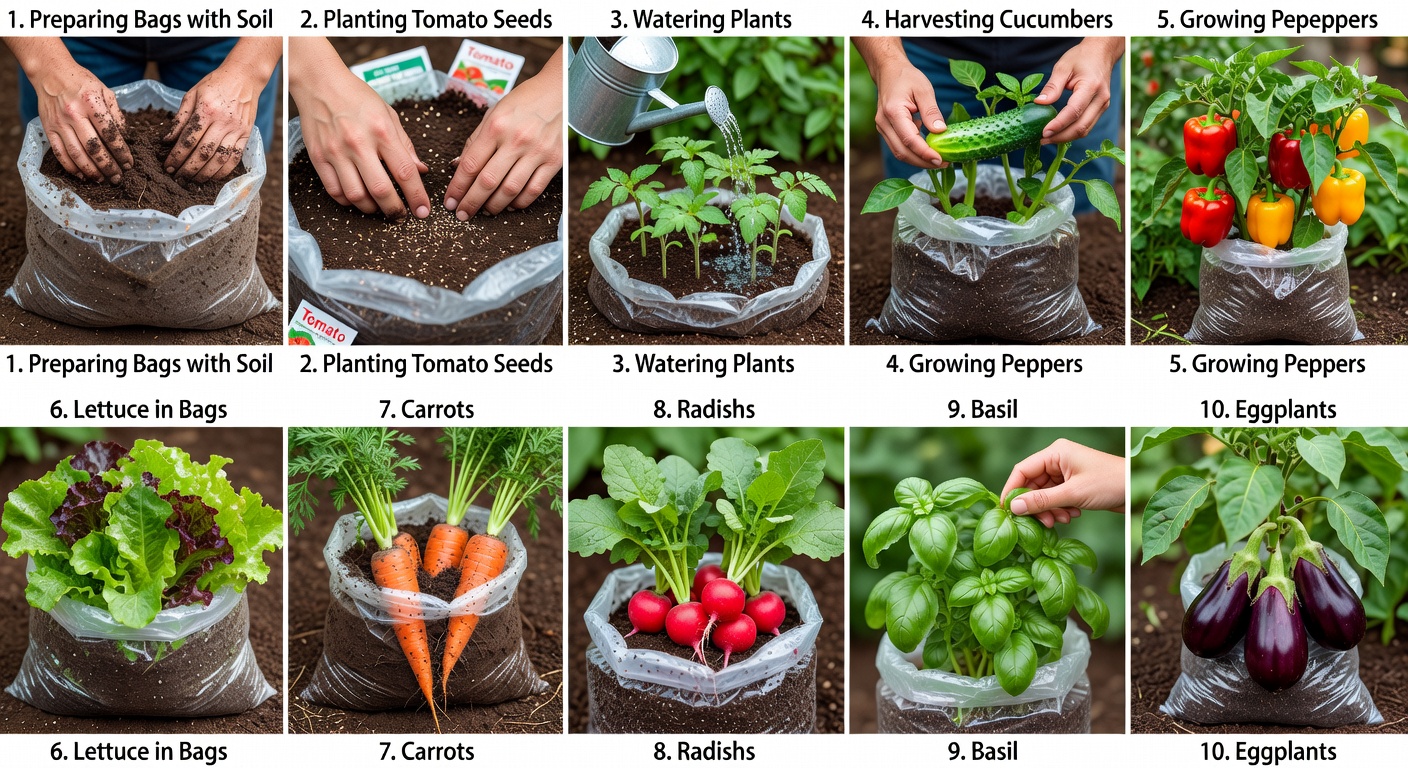
Step-by-Step: Initial Setup
Follow these steps before placing any seeds or seedlings into bags.
-
1
Cut Drainage Holes
Use scissors or a hole punch to make 8–12 small holes (1–2 cm diameter) in the bottom and lower sides of each bag. This prevents water from accumulating at the root zone.
-
2
Add a Drainage Layer (Optional)
Place a 3–5 cm layer of coarse gravel, perlite, or small stones at the bottom of the bag before adding soil. This layer improves drainage in larger bags.
-
3
Fill with Potting Mix
Fill the bag to about 5 cm below the top. Leave space to add more soil after initial settling and to water without overflow.
-
4
Moisten the Soil
Water the soil thoroughly until water drains from the bottom holes. Allow the bag to drain completely before planting. This ensures even moisture distribution before seeds or seedlings are introduced.
-
5
Label the Bag
Write the plant name and date of planting on a label and attach it to the bag. This helps track growth progress and identify varieties.
Bags expand significantly when filled with wet soil. Ensure there is adequate clearance around each bag for air circulation and for you to access the plants for watering and inspection.
Next Steps
Once your bags are prepared, the next decision is which vegetables to grow. The Choosing Vegetables guide explains which plants are well-suited to bag gardening, and how to match varieties to your available light and space. For information on soil mixes and fertilisation, see Soil & Nutrients.